

Installation method of hydraulic joint
Jun 11, 2025
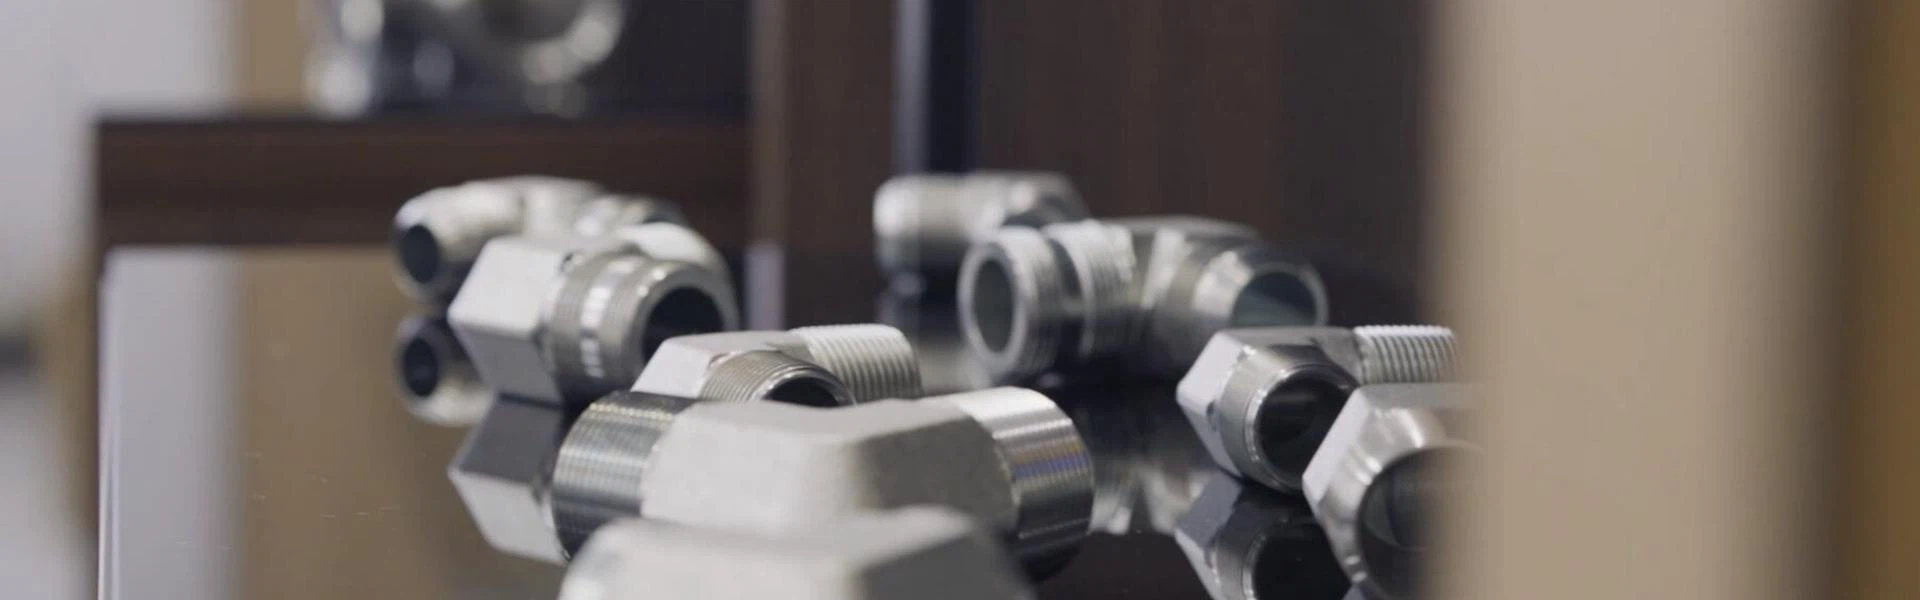
Hydraulic transition joint is also very common in our daily life, especially the adjustable bevel three-way transition joint, which belongs to one type of hydraulic transition joint and can adjust the position. Therefore, it can often be seen in the hydraulic system of excavators or super heavy equipment such as loading and cutting machines and elevators in daily life. However, this type of hydraulic joint is very demanding on installation skills. Once an error occurs, it is easy to cause damage to the joint. Here is how to install the hydraulic transition joint.
Step 1
There is a partial anti-loosening nut on the hydraulic transition joint. First, we need to turn it to the left until the principle seal is released, and then use the same steps to operate the upper o-ring, but turn it to the far left.
Step 2
Put the hydraulic transition joint on the top of the oil head to be installed, but it should be noted that this step cannot use a wrench, and must use our hands, and adjust it in the later stage.
Step 3
This step requires the use of a wrench to fix the nut. Because the nut needs to be firmly fixed, a wrench must be used, and the torque during use must not be less than the relevant requirements.
Step 4
There is a part on the hydraulic transition joint, which is the joint body. When we use a wrench to fix the nut in the previous step, we must pay attention to the joint body not rotating at the same time, otherwise even if the installation step is not completed successfully, there will be adverse effects in subsequent use, so we must use a wrench or similar items to fix the joint body.
We must strictly follow the above steps when installing the hydraulic transition joint, otherwise it is easy to cause the sealing ring on the joint to deform and fail to maintain its sealing function. Only by adopting the correct assembly method can our hydraulic transition joint give full play to its function and have a normal service life.


