

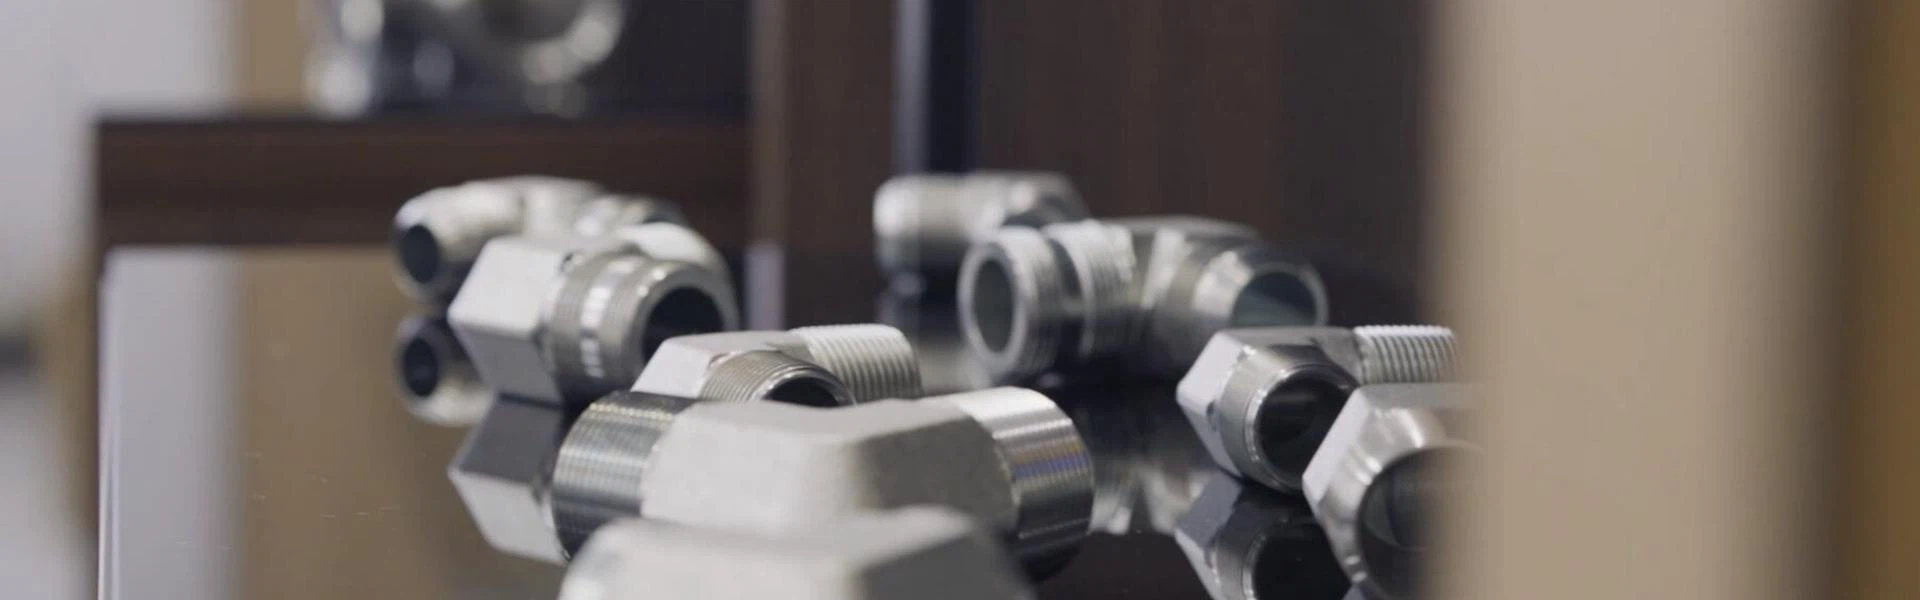
What are the specific steps involved in installing a transition joint?
Nov 05, 2025
Transition joints are a common type of connector, suitable for various industrial applications. As a crucial component in transition systems, their installation must be meticulous to prevent leaks and, in some industries, even safety accidents. Therefore, it's essential to understand the installation steps for transition joints. Here's a detailed guide:
1. Pre-installation Inspection: Before installation, inspect all parts for missing or damaged components, and check for misalignments.
2. Part Assembly: Assemble all connectable parts to form a single unit, ensuring a tight connection to prevent leaks.
3. Bolt Fixing: Secure all assembled parts with bolts and nuts, ensuring a firm fit without overtightening to avoid damage.
4. Position Adjustment: Install the final assembled transition joint and adjust its position to ensure proper operation.
5. Performance Testing Finally, the performance of the transition joint body must be tested. Operational tests should check for leaks and loose installation to ensure no safety issues arise.
Through the above introduction, you should now have a clear understanding of the installation steps for the transition joint body. As a crucial transition point in machinery, the significance of the transition joint is self-evident. Therefore, close monitoring is essential during installation, and each step must be followed precisely to avoid serious safety problems.


